
From a blank page to a sent invitation

Create a wedding website: the path in seven steps

This page describes a sequence rather than a feature list: where you start, what you need in front of you, what can wait, and the point where your draft turns into an invitation that actually reaches your guests. You can begin at any time — the first steps cost nothing and ask for no payment details.

Begin before everything is settled Rearrange it anytime, preview it anytime Nothing goes out until you say so
Couple planning their own wedding website on a laptop Begin before everything is settled Nothing goes out until you say so
Before you begin

What to have within reach

None of it has to be complete, and none of it has to be final. The point is not to spend the first evening searching: with these six things open in front of you, you get through in one go instead of stopping to settle a question after every field.

Date and place

The day, the time and where the ceremony happens. If the venue is not fixed yet, the town is enough — you can add the rest whenever you like.

Your names, spelled the way they should appear

The spelling that goes on the page and on the invitation. It sounds trivial, but it is repeated in many places later and is tedious to change afterwards.

A few sentences about the two of you

How you met, who asked, what holds you together. Two or three short paragraphs are plenty; your guests would rather read that than a perfect piece of writing.

The rough shape of the day

Ceremony, reception, dinner, party — with whatever times you already know. The rest may stay open and can be added later.

Two or three photos of you

One image for the top of the page, landscape if you have it, and a few for your story. Large files are better than small ones — we can scale down, never up.

A first guest list

Names, and the contact details you want to send the invitation to. You do not need this list until late, but it is the step that reliably takes the longest.

If something is missing, leave it blank. A page with a gap in it still beats one that was never started — and nobody but the two of you sees it until you publish it.

The sequence

Seven steps, in this order

The steps build on one another, but none of them is a point of no return: you can change everything up to the moment you send, and the page stays editable afterwards. Each step says what you need for it and what you have once it is done.

  1. 1

    Set up the page

    You create your wedding website and enter the date, the place and your names. That is the whole entry — no questionnaire, no card, no trial period that runs out on you.

    What you need: Your names, and the date and place of the ceremony.

    What you have then: A page only you can see, and one spot where everything is gathered from now on.

  2. 2

    Settle the look

    Colour, typeface and the picture at the top of the page. It pays to decide early and then leave it alone: the look is the part people fuss over longest and the part your guests notice least.

    What you need: A photo of you, landscape and at a decent resolution.

    What you have then: A page that looks like you, and a draft you can show around.

  3. 3

    Fill in the content

    Your story, the shape of the day, directions and parking, where to stay, the dress code, answers to the questions that otherwise arrive one message at a time. This is the step that saves the most time — every question answered here is one nobody asks you later.

    What you need: The rough running order and the address of the venue.

    What you have then: A page that walks your guests through the day on its own.

  4. 4

    Preview it and read it back

    Look at the page the way your guests will see it — together, and once on a phone. Most of the mistakes that surface later are times and place names, and both show up right here.

    What you need: Half an hour together, with nothing else running.

    What you have then: A page you both stand behind.

  5. 5

    Prepare the guest list and the address

    Now you enter your guests and decide what address your page should live at. The two belong together at this point: the address goes into every invitation, and swapping it afterwards means writing to everyone a second time.

    What you need: Your guests' contact details and a decision about the address.

    What you have then: A complete list and an address you can send out with a clear conscience.

  6. 6

    Publish and invite

    You pick your package, publish the page and send the invitations. From here the page is reachable for your guests, and the replies collect in one place instead of in three chat groups.

    What you need: The guest list you have signed off — and the decision that it is time.

    What you have then: Invitations on their way and an overview of replies that fills itself in.

  7. 7

    Collect replies and keep planning

    Acceptances, regrets, meal preferences and questions come in and land against the right names straight away. The same list later becomes the seating plan and the print-outs for the day — floor plan, place cards and the caterer's overview.

    What you need: Nothing more. From here the page works for you.

    What you have then: A guest list that is right, and planning that builds on the same data.

The first four steps cost nothing and ask for no payment details. Only sending to your guests belongs to a package. See the cost

Order of play

Three decisions worth making early

Almost everything about a wedding website can be changed later. These three cannot — at least not without writing to your guests a second time.

Address first, sending second

Your page address goes into every invitation, every forward and every screenshot your guests send each other. Change it afterwards and every link already out there is dead. So decide it before the first invitation leaves.
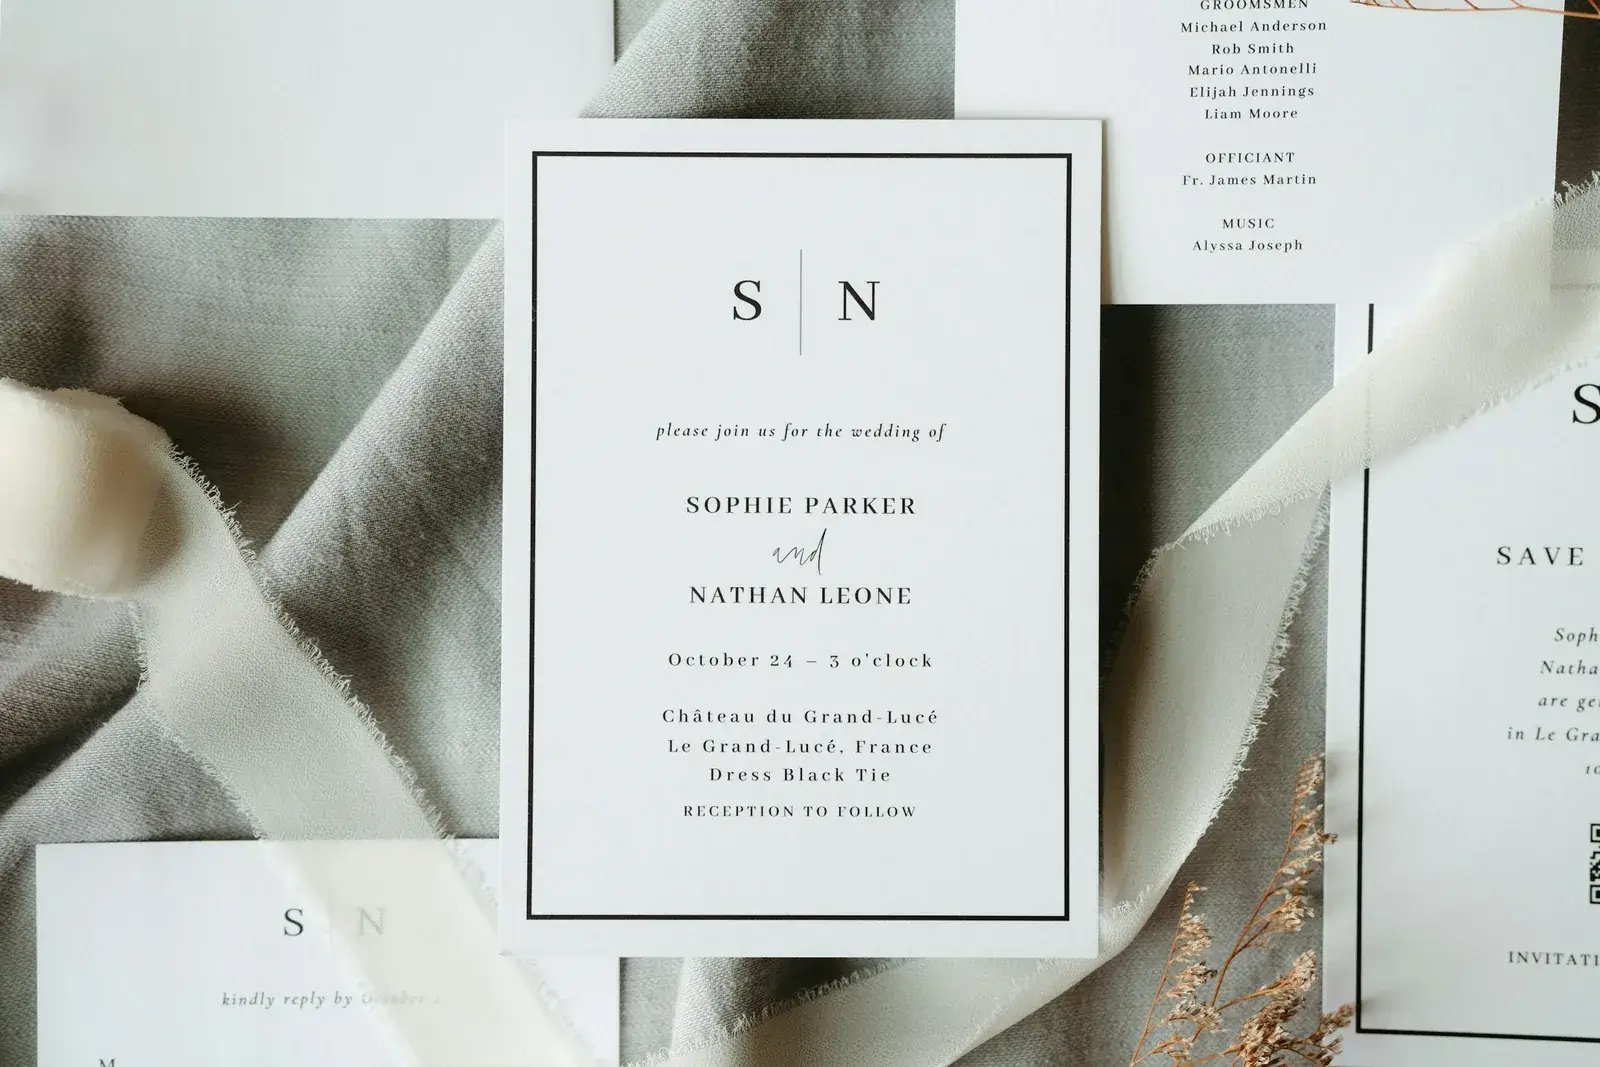
Read it back first, send second

An invitation only lands once. You can correct the page whenever you like, but you cannot pull back the message your guests already received. Reading it together before sending is the cheapest step on this whole list.

The core first, the extras second

Date, place, running order and directions are enough for an invitation that works. The gift list, song requests and the photo gallery can follow at your own pace — your guests will come back to the page anyway.

Timing

When each step is due

We deliberately work with what is already settled at your end rather than with counted weeks. That is the more reliable clock — a wedding a few months away and one still years off pass the same points, only at a different pace.

As soon as the date is fixed

Set up the page, enter the date and the place, settle the look. From here you have an address you can name in conversation when somebody asks, long before the invitation itself is ready.

As soon as the guest list stands

Finish the content, read it back together, settle the address, pick the package and invite. That is the one evening where everything comes together, and the reason the steps before it deserve room to breathe.

While the replies come in

Acceptances and meal preferences arrive, and you add details about directions and the running order. Stragglers get their reminder straight from the list, instead of you digging through old messages to see who has not answered.

Just before the day, and after it

The guest list turns into the seating plan and the print-outs that go with it. After the wedding the invitation page becomes a gallery your guests can put their photos into.

From experience

Four things easily noticed too late

None of them is a disaster, but each one costs an evening if it surfaces only after the invitations have gone out.

Choosing the address too late

Send the invitations and then change the address, and you are writing to everyone again. Settle it before the first message leaves.

Pictures that are too small

A photo that came out of a chat group is often too small for the top of the page and turns soft. Take the file from the camera or from the photographer, not the forwarded one.

Names without a way to reach them

A guest list made of first names looks complete but cannot be sent anywhere. Collect the contact details the invitation should go to as you type each name in.

Only one of you read it

Times, place names and the spelling of names are the three mistakes you stop seeing in your own text. A second pair of eyes is not a luxury but the step with the best return.

Not on this page

What you will find in full elsewhere

This page describes the path. Three questions that come up along the way have a page of their own — where they are answered in full instead of in passing here.

What the whole thing costs

Every amount, what a package contains and where the line between free and paid runs.

See the cost

What the page can do

The full range — from the overview of replies through the gallery to the seating plan.

All features

Why there is no subscription

A wedding is a date, not a standing arrangement. Why we charge once and what follows from that for you.

The payment model
Common questions

Questions that come up before the first step

One evening together is enough to get going: set up the page, settle the look, enter the date and the place. It becomes complete over the following weeks, as you add details once they are settled. Sending it to your guests is then a short, separate step of its own.

Yes, and that is exactly what the order above is for. At the start you only need your names and a date. Venue, running order, directions and the guest list join in whenever they are settled — until you send, the page is a draft only you can see.

Setting it up, designing it and the live preview cost nothing, permanently and without payment details. You pay only when you really want to invite your guests; the amounts and what each one includes are set out in full on the cost page.

The core first — date, place, running order, directions — then the look, then reading it back together, then the guest list and the address, and only after that the sending. The address and the sending are the two points that create work in hindsight; everything else you can change at any time.

Your names in the spelling you want, the date and place of the ceremony, and a photo at a decent resolution. Everything else — running order, directions, where to stay, the guest list — can follow once it is settled.

The content yes, at any time: your guests always see the current state, because they open the page rather than read an attachment. What you should leave alone is the address, because it stands in every invitation already sent.

Start with the first step

Set up the page, enter the date, choose the look — that is the evening after which everything else comes easier.

Start for free

No payment details, no time limit. Nothing goes out until you want it to.